
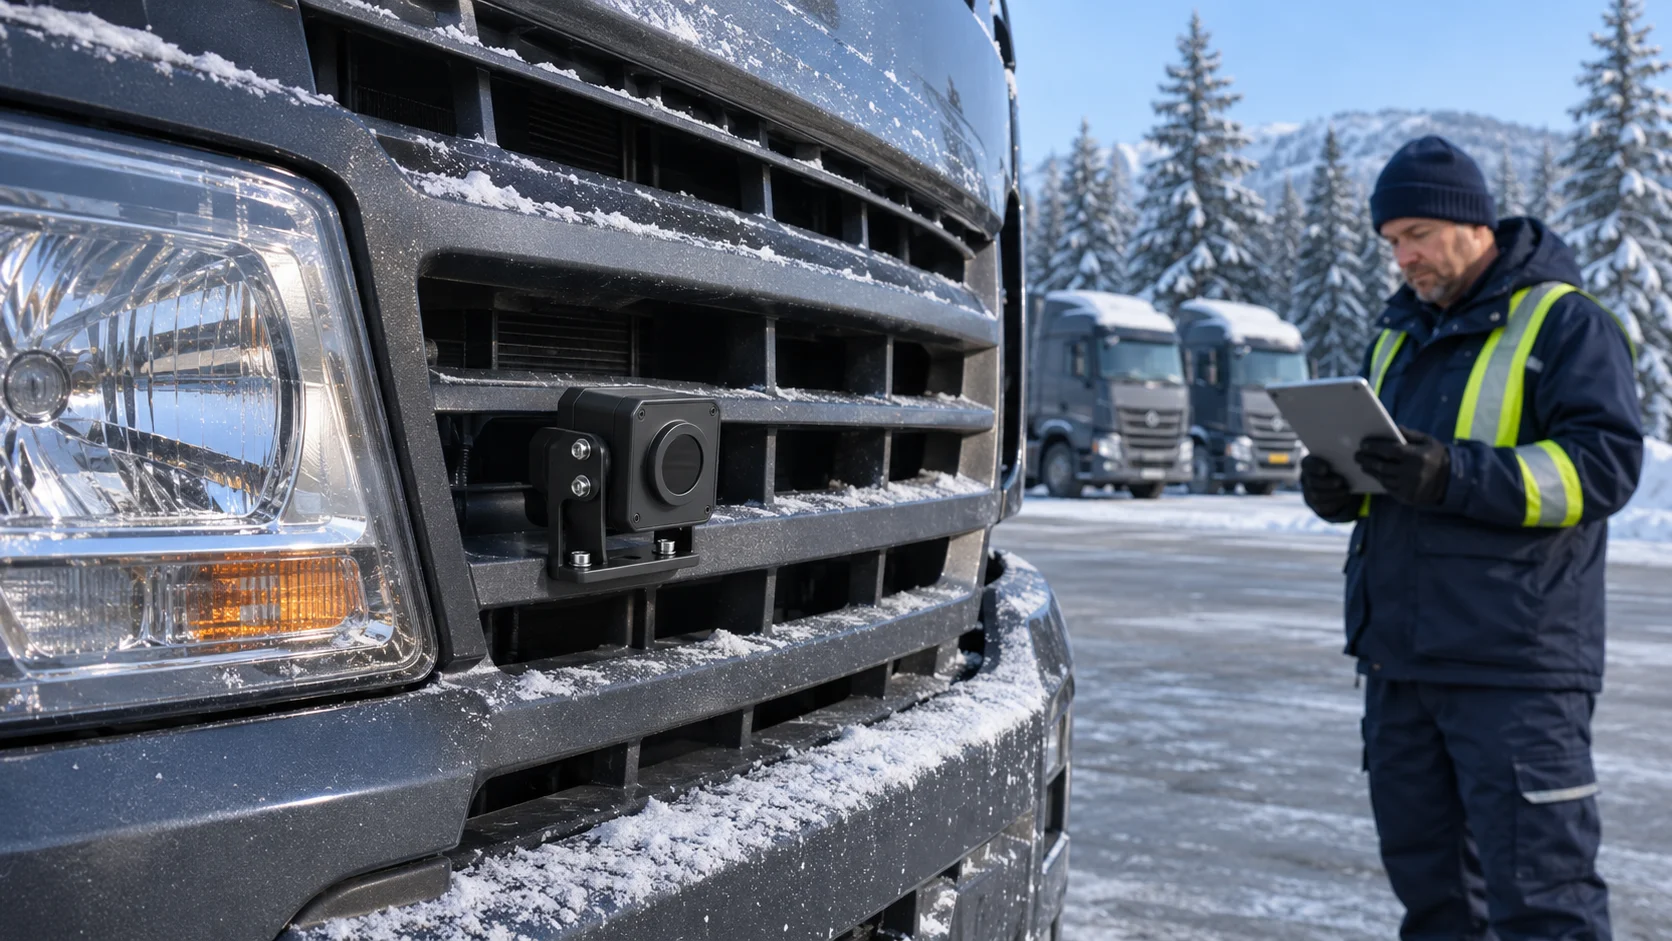
Four criteria decide your choice: winter performance, application fit, regulatory compliance, and cost. For most Canadian winter fleets, a heated-optic automotive thermal camera with verified cold-start data fits best. Snowplow crews, long-haul transport trucks, utility vehicles, and northern surveillance units each stress a camera differently, so match the unit to your duty cycle. Ask suppliers for model-specific cold-start and heated-window evidence. An Ethernet video connection and an IP67 enclosure do not prove defrosting capability or 24 V supply support. This comparison stays objective and shows where each option fits best, without steering you away from any legitimate choice.
Key Takeaways
Choose a heated-optic camera with proven cold-start data for reliable winter performance.
Verify heater power and warm-up time in writing to ensure the lens defrosts quickly.
Match camera resolution to your duty cycle for clear images in snow and fog.
Confirm power compatibility with your vehicle’s electrical system to avoid failures.
Request model-specific test reports and compliance documents before you buy.
Cold-Start and Operating Range
Rated Operating vs. Cold-Start Behavior
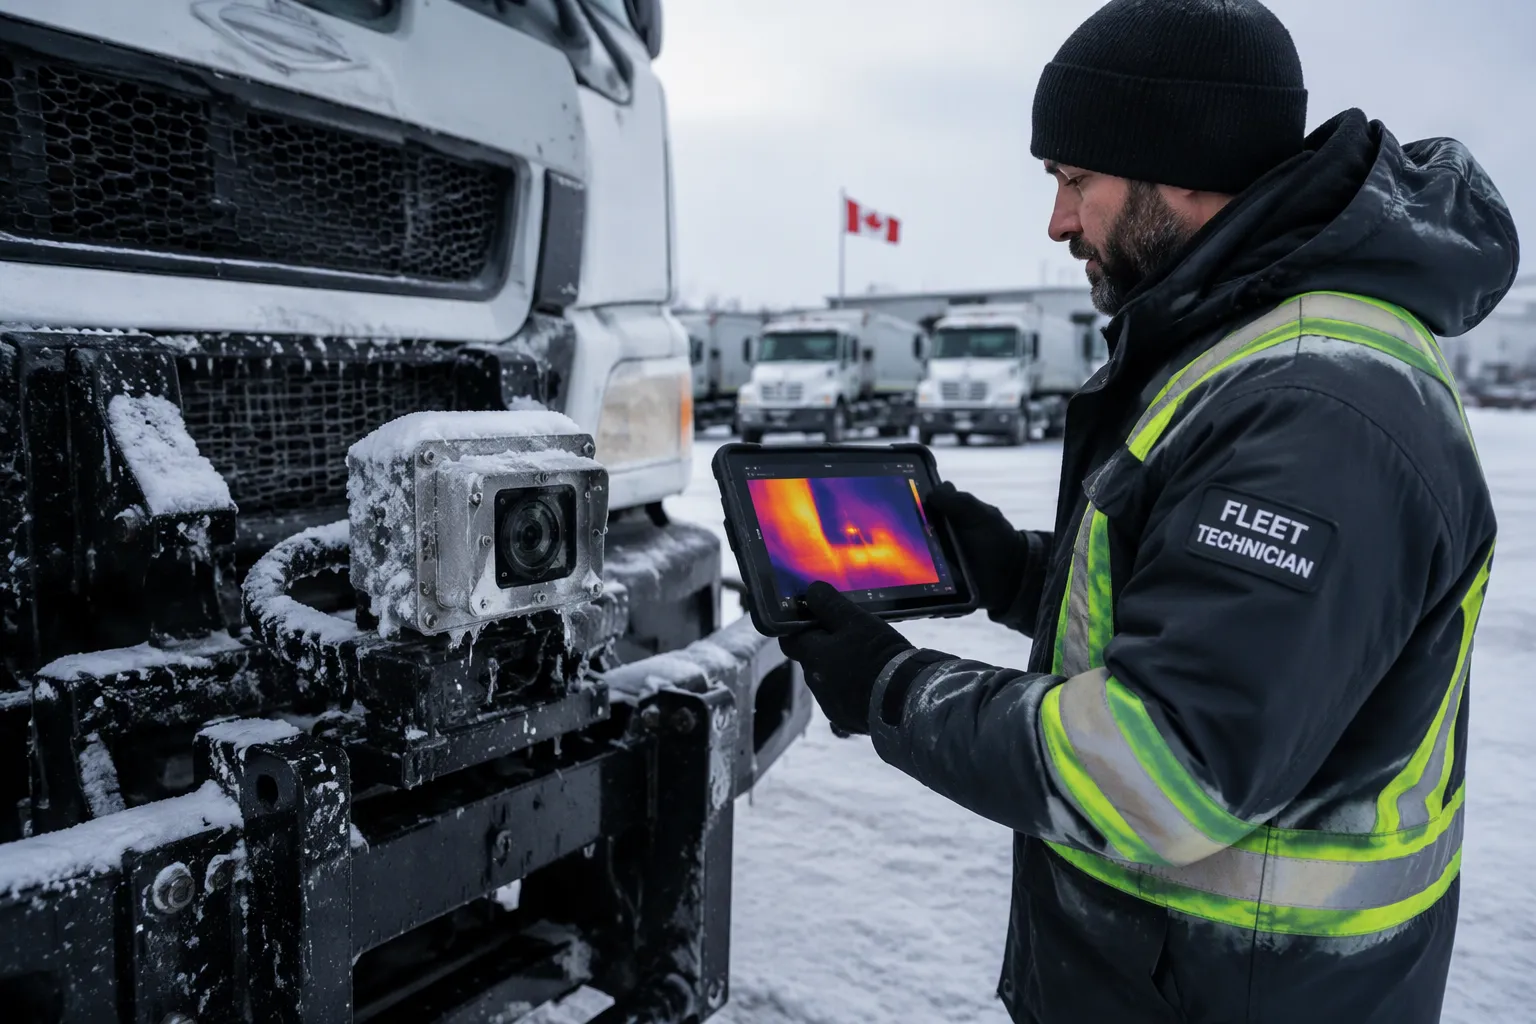
A datasheet temperature range tells you where a camera may operate. It does not tell you whether the camera will start after a night at −35°C in a plow yard. Treat these as two separate questions, because suppliers often answer only the first.
Rated operating range describes the ambient band the electronics tolerate once running. The VERYTek TNV Series, for example, lists a −30°C to +70°C operating range on its official product page. That figure is a useful screening filter for Canadian winter work. It is not proof of cold-start behavior.
Cold-start capability describes what happens at key-on with a soaked camera. Internal heaters must warm the optic. The image core must lock. The video stream must come up within the time your operator needs it. Ask for cold-chamber test data per model: soak duration, start temperature, time to first usable image, and heater power draw during warm-up. Request the report, not a verbal assurance. A datasheet minimum is a design target. A chamber log is evidence.
Thermal Stability in Freeze-Thaw Cycles
Canadian winters cycle hard. A plow truck parks in a heated bay at night and works at −25°C by morning. Moisture migrates, seals flex, and lens assemblies breathe. Repeated cycles stress the sensor package and the enclosure in ways a single cold soak never reveals.
Sensor stability matters most. Uncooled VOx cores, such as the one in the TNV Series, are sensitive to thermal gradients across the package. A seal that admits microscopic moisture can shift the image baseline over a season. You may see drift, fixed-pattern artifacts, or a slow loss of sensitivity. None of these failures appear on day one.
Seal integrity is the second concern. Gaskets, cable glands, and window bonds all expand and contract at different rates. A camera rated IP67 in a lab may still pass water after fifty freeze-thaw cycles. Verification should be documented per model, with the cycle count and the inspection method stated.
Build your procurement file around three documents: the cold-chamber start report, the freeze-thaw cycle report, and a written statement that both apply to the exact model you are buying. Model families share names but not always hardware. Confirm the part number in writing before you commit. This step costs you an email. Skipping it costs you a warranty argument in February.
Automotive Thermal Camera Power Realities
Defroster and Heated-Window Assumptions
A generic automotive thermal camera listing rarely tells you whether the optic actually defrosts. Product pages describe imaging cores, resolutions, and network protocols. Heater circuits often go unmentioned. Do not read defroster capability into an IP67 rating or an Ethernet port. Those features address dust and water ingress and video transport. Neither one melts ice off a lens window.
Require written confirmation of two figures per model: heater power draw in watts and warm-up time from a stated cold soak. Ask whether the heater runs continuously or cycles on a thermostat. Continuous draw affects your electrical budget every hour of the shift. A cycling heater draws less on average but delivers uneven clearing. Request the warm-up curve, not a single number. You need to know how long the operator waits before the image becomes usable.
The VERYTek TNV Series illustrates the gap between a datasheet and a defrosting claim. Its official page lists uncooled VOx imaging, ONVIF/RTSP connectivity, a 3 TOPS AI processor, 256 × 192, 384 × 288 and 640 × 512 configurations, IP67 protection, a 12 V DC supply, and a −30°C to +70°C operating range. None of those entries confirms a heated window. Get the heater specification in writing before you assume it.
Verifying 12V Power Budgets
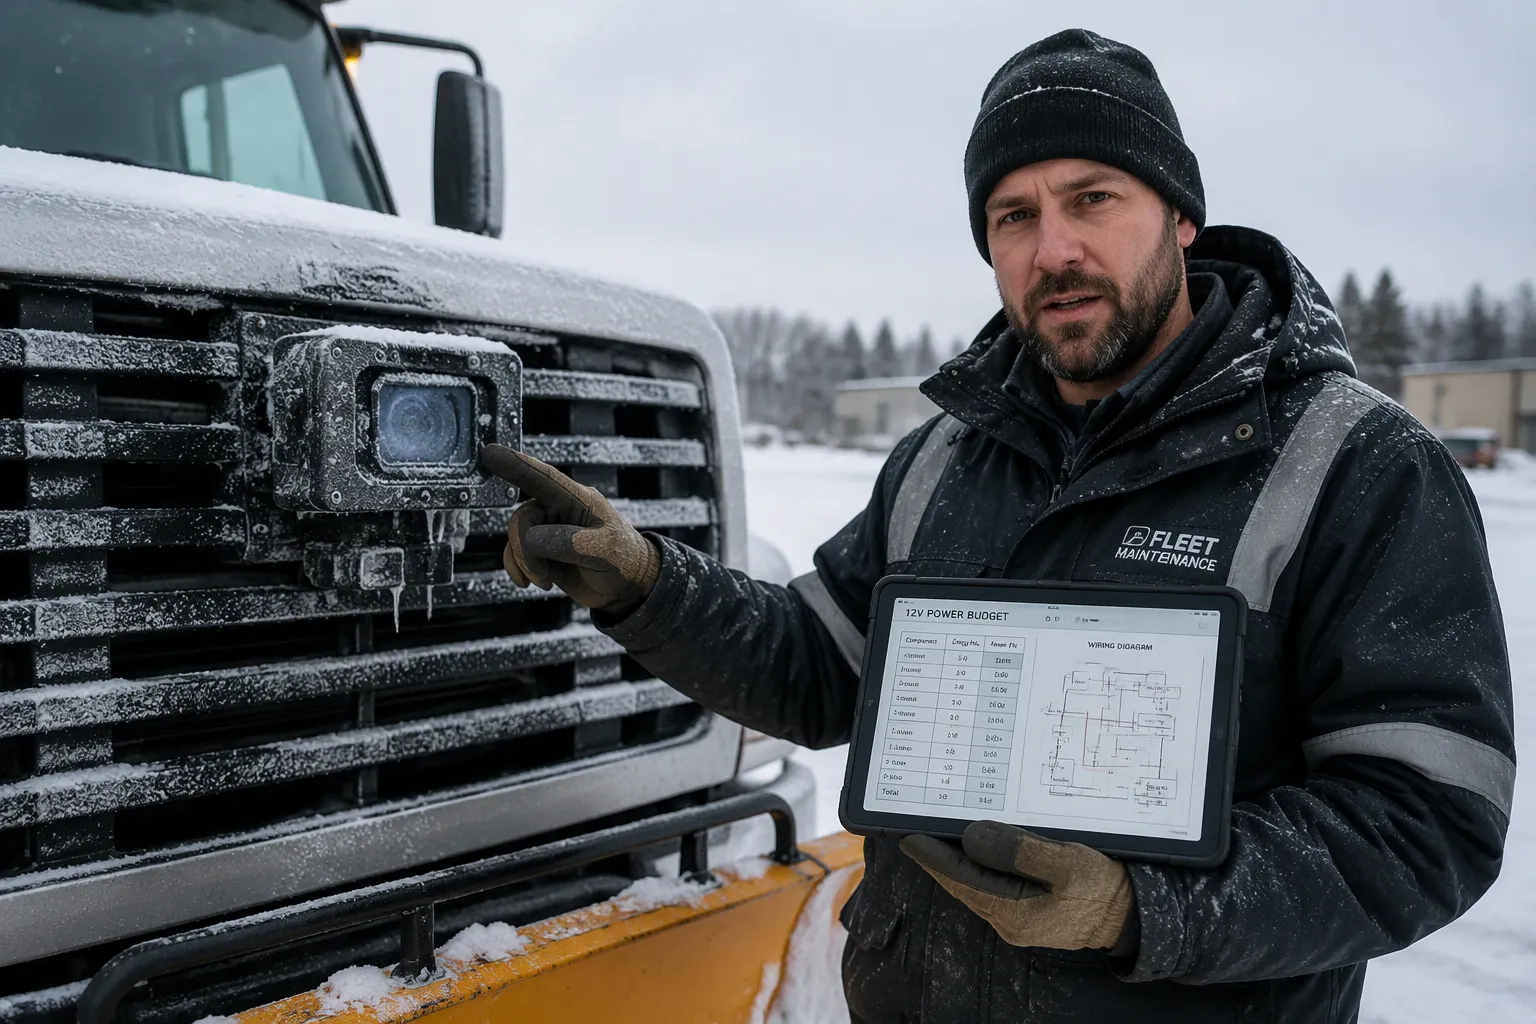
Cold mornings punish 12V systems. Battery chemistry slows, internal resistance rises, and cranking loads pull the rail down. A camera that starts cleanly at room temperature may brown out at −30°C during a plow cycle. Check the camera’s minimum input voltage against your measured cold-crank voltage, not the nominal 12 V label.
Alternator headroom deserves the same scrutiny. Add up every continuous auxiliary load, then compare the total against rated alternator output at operating RPM. A snowplow example makes the method concrete. List the plow hydraulic pump, the light bar, the cab heater blower, the two-way radio, and the camera heater. Sum their rated currents. Subtract that sum from the alternator rating, leaving a margin for battery recharge. If the margin shrinks below a comfortable reserve, the camera heater becomes the load that drains the battery overnight.
Confirm connector ratings and 12V delivery limits with the supplier in writing. A 12 V DC camera also needs a documented path to your 24 V vehicle supply, whether through a converter or a dual-voltage input. Ethernet video does not establish raw 14-bit sensor data availability either. Put every power claim into the procurement file as a signed statement.
TNV Ethernet and 12V Integration Limits
Network Architecture Constraints
TNV Ethernet compatibility means the camera streams video over an Ethernet link. It does not mean the camera drops into any fleet network unchanged. The VERYTek TNV Series, for example, offers Ethernet video with ONVIF/RTSP connectivity, a built-in 3 TOPS AI processor, and configurations of 256×192, 384×288, and 640×512. Those features describe the camera side of the link. Your vehicle side still needs a matching switch, recorder, and addressing scheme.
Confirm the camera against your existing architecture before procurement. Check the video protocol your recorder accepts, the IP addressing plan, and the bandwidth the link carries. Ask whether the stream is compressed or raw. Ethernet video does not by itself establish availability of raw 14-bit sensor data. If your analytics pipeline needs uncompressed thermal data, get that requirement confirmed in writing per model.
Power Delivery at Low Temperatures
The TNV Series lists a 12 V DC supply and a −30°C to +70°C operating range. Those entries describe the camera’s own input. They do not confirm compatibility with a 24 V vehicle bus. A network video connection and an IP67 enclosure do not by themselves establish defrosting support or 24 V vehicle supply compatibility. Treat each as a separate question for the supplier.
Cold delivery limits matter here. A 12 V rail sags at low temperature, and connector ratings vary by part. Confirm the minimum input voltage, the connector current rating, and any converter requirement in writing before you buy. For any automotive thermal camera in a winter fleet, ask for model-specific cold-start and heated-window evidence. Put those statements in the procurement file, signed and tied to the exact part number.
Image Performance in Snow, Ice, and Fog
Thermal imaging earns its place in a winter fleet through the safety case. Falling snow, blowing powder, and freezing fog cut visible-light cameras down to a white wall. An automotive thermal camera reads heat signatures instead. Your operator sees pedestrians at the roadside, a stalled car in the lane, or a coworker on foot near the plow blade before the visible-light feed shows anything. That earlier warning buys braking distance and reaction time.
Resolution and Thermal Sensitivity Trade-offs
Resolution and thermal sensitivity pull against each other in every sensor choice. A 640 × 512 array, one of the configurations the VERYTek TNV Series lists alongside 256 × 192 and 384 × 288, resolves more detail at distance. You can pick out a person’s outline farther down the shoulder. A smaller array costs less and processes faster, yet it merges distant objects into blobs sooner.
Sensitivity decides how much temperature difference the camera can show. Fine sensitivity reveals a cold vehicle against a slightly warmer road. It also amplifies noise from a contaminated window. Match the pair to your duty cycle. A plow working at low speed near pedestrians needs detail close in. A long-haul truck scanning the shoulder at highway speed needs range. Ask the supplier for sample imagery captured in falling snow at your expected detection distance, not a clear-night demo clip.
Lens Heating and Window Contamination
Sustained image quality depends on the window staying clear. Snow accumulates on a vertical lens face. Ice bonds to a cold optic within minutes. Road spray leaves a film that scatters the thermal signal. Lens heating addresses the first two problems. A heated window melts accumulation and restores the view, provided the heater has the power and warm-up time you confirmed earlier.
Contamination management covers the rest. Plan a cleaning interval into your shift routine, and specify a window coating or wiper arrangement where the supplier offers one. Compare options on documented heater performance and service access, not on marketing claims. A camera with modest resolution and a proven heater often outperforms a high-resolution unit that ices over.
Mounting and Application Fit
Snowplow and Utility Fleet Positions
Mounting position decides how much vibration a camera survives. A snowplow blade frame shakes hard when the moldboard scrapes asphalt, and that shock travels straight into any bracket bolted to it. Reserve blade-frame mounts for cameras with documented shock ratings. A cab roof or mirror-arm position isolates the unit from plow impact and keeps the lens above road spray. Utility bucket trucks and service vans face gentler road vibration but constant door slam and body flex, so check bracket stiffness at the mounting flange.
Vibration exposure varies by position, and you should document it per vehicle class. Ask the supplier for the shock and vibration specification tied to the exact model, then compare it against your roughest route. Route the cable with a service loop at the connector. A tight harness transmits frame vibration directly into the plug.
Transport Truck and Trailer Scenarios
Long-haul tractors typically mount a forward-facing unit behind the windshield or on the mirror housing. Trailer installations need a different plan. A trailer swaps between tractors, so the camera must survive repeated coupling and uncoupling, and the connector must tolerate frequent mating cycles. Confirm the connector rating in writing before you specify a trailer-side position.
Northern surveillance and mining operations extend the same logic to fixed and mobile platforms. Thermal imaging keeps personnel and equipment visible through polar night and dust, and vehicle-mounted units serve patrol trucks and site pickups well. Drone-based thermal payloads exist for aerial survey work, yet this discussion stays with vehicle-mounted automotive thermal camera hardware. Whatever the platform, request model-specific cold-start and heated-window evidence. An IP67 enclosure and a network video connection do not by themselves prove defrosting support or 24 V vehicle supply compatibility.
Board Construction and Sourcing Fit
Flex, Rigid-Flex, and HDI Considerations
Camera electronics rarely sit on a single flat board. A heated-optic assembly may carry a flex tail from the sensor package to the main board. A compact housing may push the design toward rigid-flex, where a stiff control section joins a bending section in one unit. Semi-flex constructions offer a middle path, and HDI boards pack dense routing into a small footprint. Each construction changes what you must specify before anyone quotes the build.
Review three details with your fabrication partner before pricing. Material selection decides how the board behaves across your operating range, so confirm the substrate and coverlay materials suit the camera’s rated conditions. Stack-up defines layer order and copper distribution, and it drives both signal behavior and mechanical stiffness. Bend requirements matter most on flex and rigid-flex designs. State the bend radius, the bend count, and whether the bend is static or dynamic. A flex tail that folds once during assembly tolerates a tighter radius than one that flexes every time a plow blade moves.
BOM Review and Inspection Scope
Your bill of materials drives sourcing risk. Ask your assembly partner to review the BOM for availability and purchasing requirements before procurement begins. That review catches obsolete parts and long-lead items early, while you can still change the design.
VeryPCBA serves as one example of a custom PCB assembly partner for this work. Their services include BOM review, turnkey or consigned assembly, functional testing against agreed procedures and acceptance criteria, X-ray inspection of hidden solder joints for voids, bridging, and missing connections, and final product assembly. They also review material selection, stack-up, bend requirements, and inspection plans before quoting. Compare this against other partners on the same criteria. Whatever supplier you choose, tie the inspection scope to the exact model and put it in writing. A network video connection and an IP67 enclosure do not, by themselves, establish defrosting support or 24 V vehicle supply compatibility, so keep those claims separate from board-level quality evidence.
Transport Canada Compliance Checks
Safety Standard Considerations
Vehicle-mounted electronics fall under Transport Canada oversight, and the applicable requirements shift with the project type. A camera wired into a plow truck’s electrical system raises different questions than a unit bolted to a trailer that crosses provincial borders. Confirm the applicable rules for your specific installation before you write a purchase order.
Start with the vehicle’s own compliance baseline. Transport Canada administers the Canadian Motor Vehicle Safety Standards, and aftermarket electronics must not compromise the vehicle’s conformity with those standards. Ask how the camera and its wiring affect lighting, electrical load, and driver sightlines. A roof-mounted unit that blocks a required field of view creates a problem no datasheet will flag.
Then confirm the camera’s own safety documentation. Ask the supplier which standards the model was tested against and whether the test reports cover the exact configuration you plan to install. Requirements vary by project type, so a unit approved for one fleet application may need additional evidence for another. Document that determination in your procurement file.
Documentation Before Purchase
Request three document sets before you commit. First, certification records that name the standards the model meets. Second, test reports that show the results behind those certifications, not just the certificate cover page. Third, written model confirmation that ties every document to the exact part number you are buying.
Treat verbal assurances as placeholders. Winter fleet evaluations should ask for model-specific cold-start and heated-window evidence, and that evidence belongs in the same file as the compliance records. A network video connection and an IP67 enclosure do not, by themselves, establish that a camera supports defrosting or a 24 V vehicle supply. The VERYTek TNV Series, for example, lists IP67 protection, a 12 V DC supply, and a −30°C to +70°C operating range on its official product page. Those entries describe ingress protection and input voltage. They do not certify defrosting or 24 V compatibility, so request separate written confirmation for each claim your project depends on.
Cost, Maintenance, and ROI
Initial Cost vs. Lifetime Maintenance
Purchase price is the smallest number in the file. Build a lifetime cost model around three recurring items: lens cleaning labor, heater power consumption, and replacement intervals.
Lens cleaning carries a hidden labor cost. A plow working road spray may need a window wipe every shift. Multiply that time by your labor rate and by the number of winter shifts, and the annual figure often rivals the camera price. A heated window reduces wipe frequency, so confirm heater performance before you compare quotes.
Heater power consumption shows up on your fuel and alternator budget. A continuously running heater draws current every hour of the shift. Ask for the rated draw in watts and the duty cycle, then estimate the seasonal energy cost from your shift hours.
Replacement intervals depend on seal integrity and vibration exposure. A camera that fails after two winters costs more per year than a pricier unit that lasts six. Request field failure data per model where the supplier has it.
Building a Defensible ROI Case
Frame the case around avoided collisions and recovered uptime, not around sticker price. A thermal camera that helps an operator spot a pedestrian near the blade prevents a claim that dwarfs the hardware cost. Document your incident history and the visibility conditions behind each event.
Uptime belongs in the same model. A camera that ices over forces the operator to stop and clear it, and that downtime has a cost per hour. Compare options on documented warm-up time and heater reliability.
Present the case as total cost of ownership against risk reduction. List purchase price, installation, annual cleaning labor, seasonal heater energy, and expected replacement year. Set that total against your estimated claim avoidance and downtime savings. Keep every assumption visible, and let procurement challenge each line.
A heated-optic automotive thermal camera with verified cold-start data remains the best fit for most Canadian winter fleets. Winter performance, application fit, regulatory compliance, and cost justify that choice.
Fit still varies by duty cycle. Snowplows reward shock-rated mounts and proven lens heating. Long-haul tractors favor range and clean window service. Utility fleets need stiff brackets and tolerant connectors. Northern surveillance values sustained clarity through polar night.
Before you finalize procurement, request cold-chamber test data and written model confirmation from every supplier. Tie each document to the exact part number. That single step protects your winter uptime.
FAQ
Does an IP67 rating prove a camera will defrost its lens?
No. IP67 covers dust and water ingress only. A network video connection and an IP67 enclosure do not, by themselves, establish that a camera supports defrosting or a 24 V vehicle supply. Request written heater power draw and warm-up time per model.
What cold-weather evidence should I request before purchase?
Ask for a cold-chamber start report, a freeze-thaw cycle report, and written confirmation that both apply to your exact part number. Winter fleet evaluations should ask for model-specific cold-start and heated-window evidence. A datasheet minimum is a design target, not proof.
What does TNV Ethernet compatibility actually cover?
It covers video transport over an Ethernet link. The VERYTek TNV Series pairs uncooled VOx thermal imaging with Ethernet video, ONVIF/RTSP connectivity and a built-in 3 TOPS AI processor. Ethernet video does not by itself establish availability of raw 14-bit sensor data or compatibility with 24 V vehicle power.
Can I run a 12 V camera directly from a 24 V truck?
Not without confirmation. The VERYTek TNV Series lists a 12 V DC supply and a −30°C to +70°C operating-temperature range on its official product page. Those entries describe input voltage and operating band. Confirm any converter or dual-voltage requirement in writing with the supplier.
Which camera configuration suits a snowplow versus a long-haul truck?
Match resolution to duty cycle. The VERYTek TNV Series offers 256 × 192, 384 × 288 and 640 × 512 configurations. A plow working close to pedestrians needs detail nearby. A highway tractor scanning the shoulder needs range. Request sample imagery in falling snow at your detection distance.
See Also
Key Features to Evaluate in Mining Fleet Automotive Thermal Cameras
Top AI-Powered Thermal Cameras for Vehicle Night Vision Systems
AI Thermal Cameras for Vehicles Ensuring Clear Vision in Dark Mines
OEM Automotive Thermal Camera Supply for Commercial Vehicle Integrators in India
Automotive Thermal Cameras for UK Distributors: OEM Kits and Technical Guide