
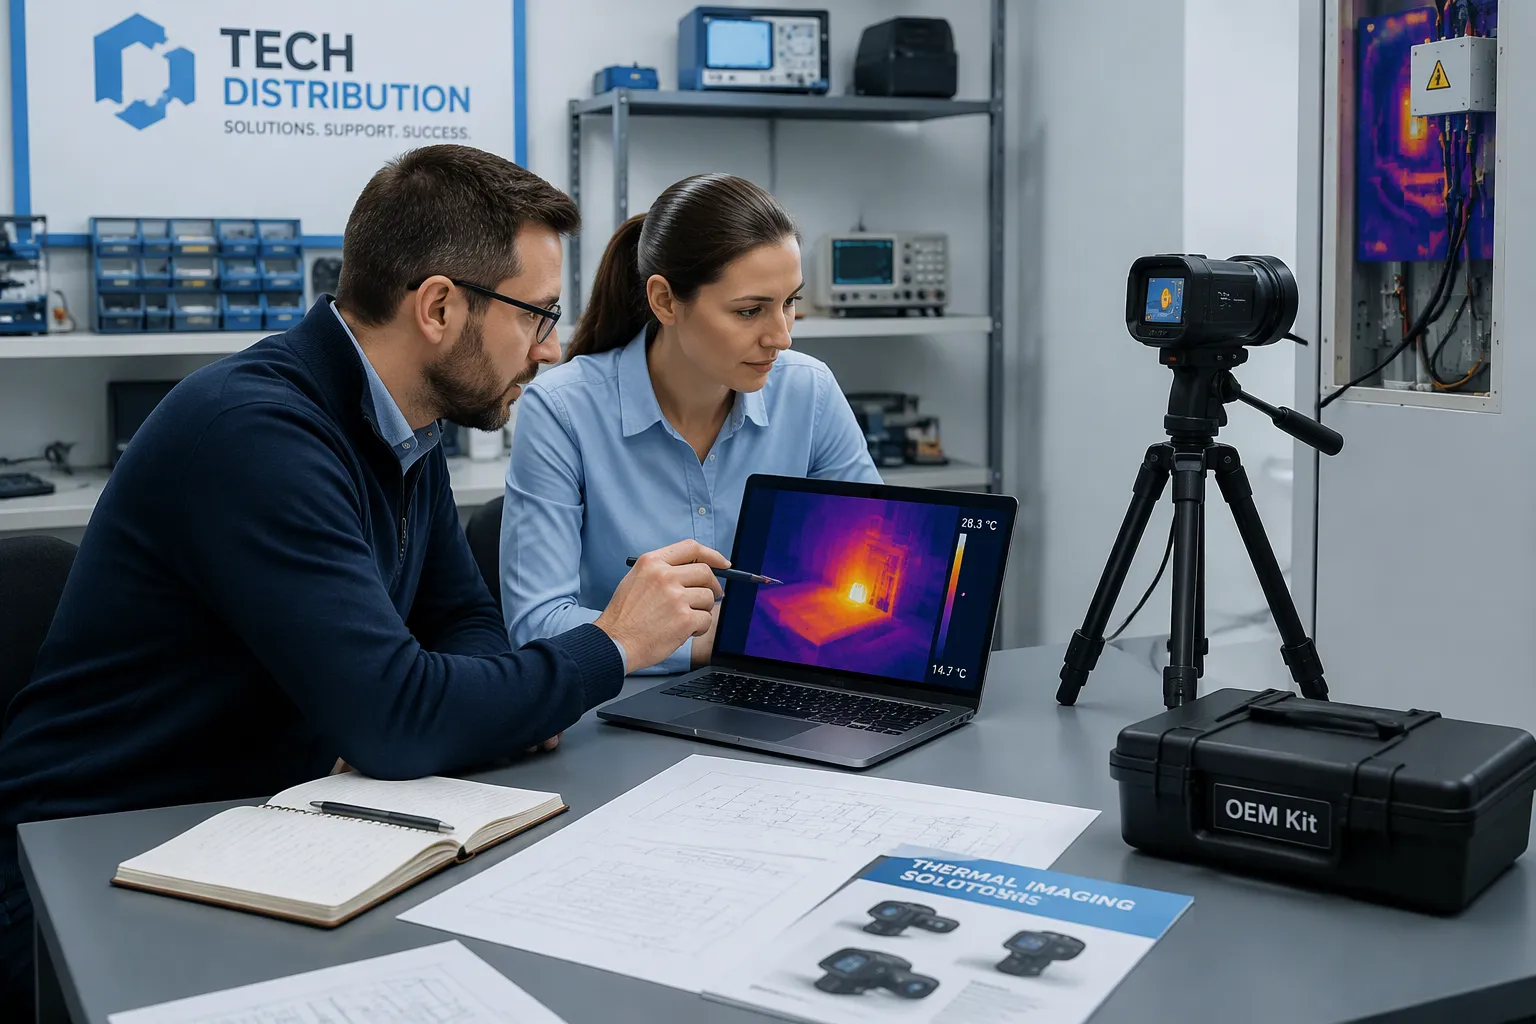
Compare resolution, thermal sensitivity, frame rate, spectral range, interface, and IP rating first. Then weigh the two main OEM kit categories: complete systems and standalone cameras or cores. The term auto thermal camera covers two different products. Automotive thermal imaging means a vehicle-mounted sensor, not an automated thermal monitoring system. Most automotive units work in the long-wave infrared band, roughly 8–14 µm, which sees heat through darkness and glare. Demand is rising on both sides: OEMs build cameras into new vehicles, and aftermarket distributors supply retrofit kits. That split shapes your stocking plan. Treat the purchase as three linked choices: kit type, spec-to-application fit, and UK compliance and trade terms.
Key Takeaways
Choose the right kit type first: complete systems are easy to install, while standalone cores give integrators design freedom.
Match camera specs to the job: resolution, thermal sensitivity, frame rate, and lens field of view must fit your use case.
Check UK compliance early: confirm product markings, declarations of conformity, and road-use rules before you import.
Compare total cost, not just unit price: include freight, duty, support hours, and warranty terms.
Test one sample in a real installation before you order large stock to avoid costly mismatches.
Auto Thermal Camera OEM Kit Types
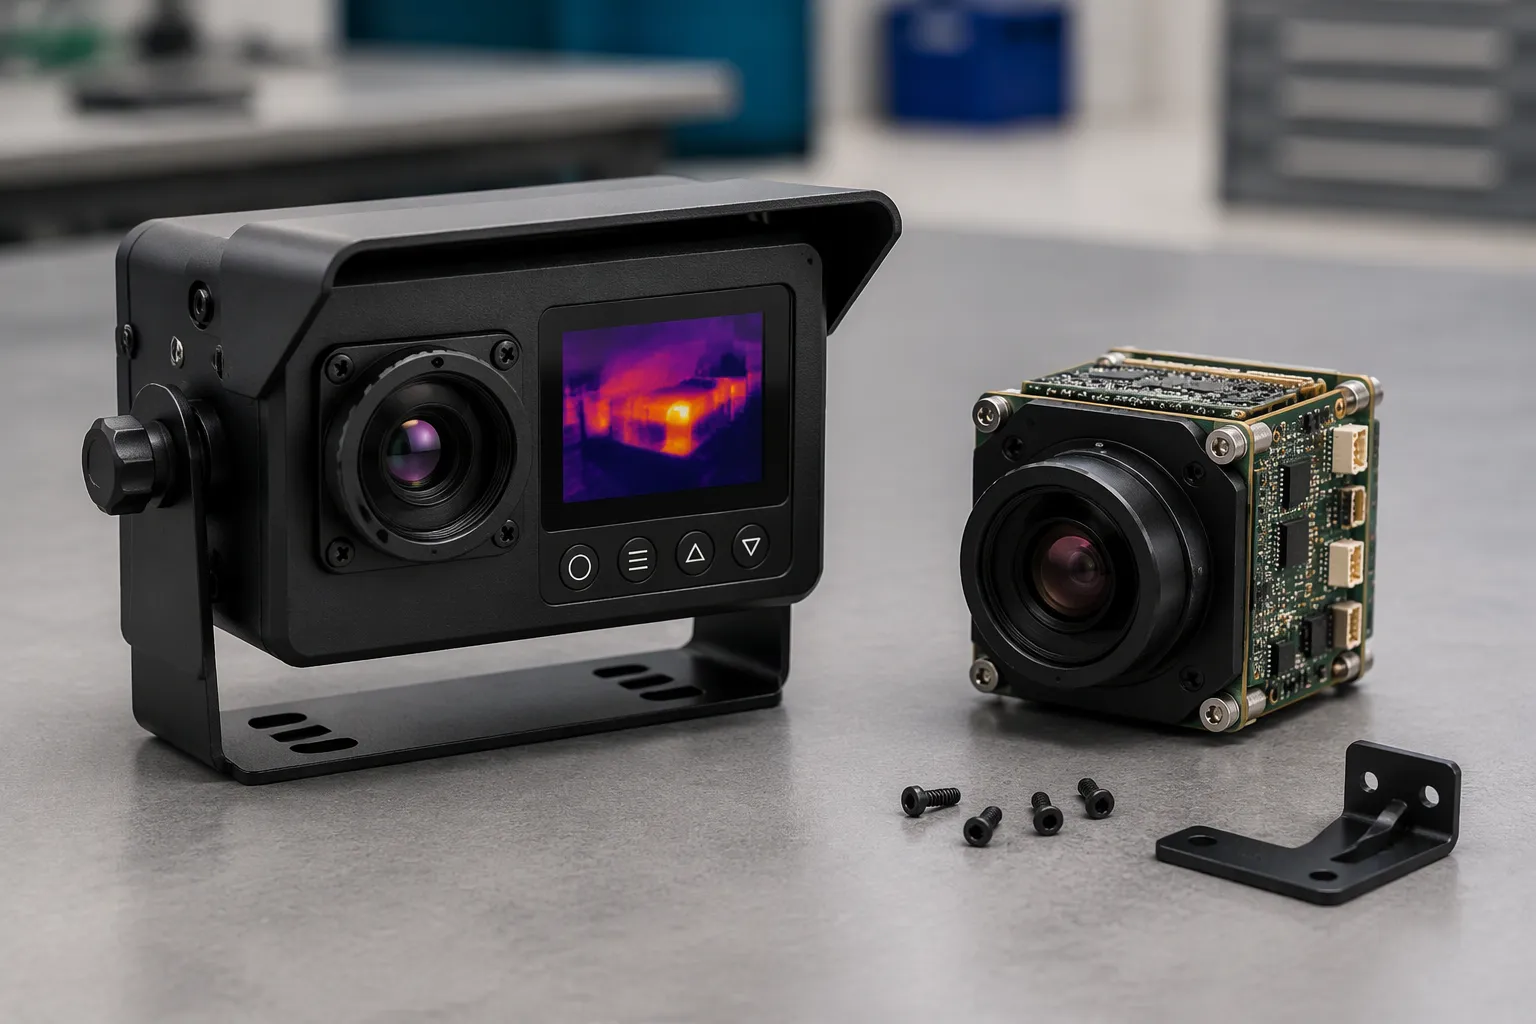
Kit form factor drives your stocking plan more than any single specification. Two categories dominate the OEM supply chain, and each serves a different buyer.
Complete Systems vs. Standalone Cameras
A complete system arrives as a finished product. It includes the sensor, lens, housing, mounting hardware, display interface, and often a monitor or recording module. One illustrative example is an ultra-compact 256×192 unit with touch control and onboard recording. You unbox it, mount it, and connect power. The installer needs no housing design work and no firmware development.
A standalone camera or core is the imaging engine alone. A 640×512 LWIR core with ≤20 mK NETD is a typical example. It delivers a video stream and nothing else. Your customer builds the enclosure, the mounting bracket, and the display integration. This route suits integrators with in-house mechanical and electrical engineering.
The table below summarizes the trade-off.
Factor | Complete system | Standalone camera or core |
|---|---|---|
Installation effort | Low; plug and mount | Higher; housing and integration required |
Design freedom | Fixed by the supplier | Fully open |
Best channel | Retrofit and aftermarket | Integrators building their own product |
Support burden | Supplier handles most of it | You and the integrator share it |
Neither option is superior. A complete system shortens time to market for a retrofit seller. A core gives an integrator control over form factor and branding.
Kit Fit by Vehicle Application
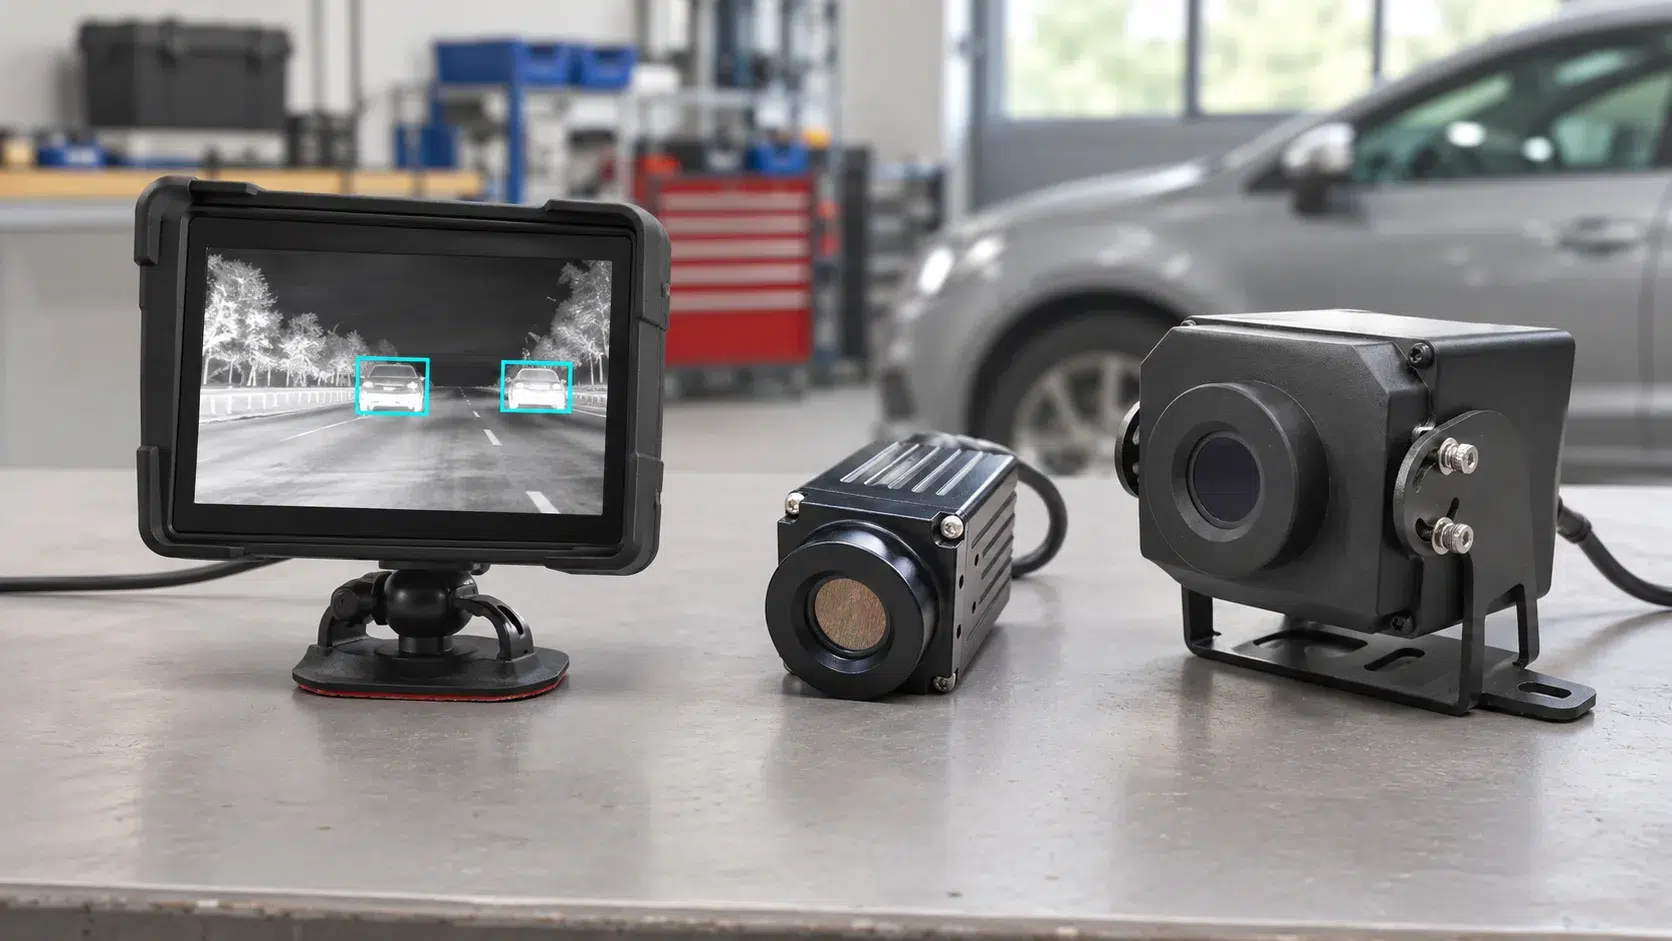
Mounting position changes with vehicle type, and the kit form factor must accommodate it. On SUVs, the high roofline and upright windshield favor a behind-the-mirror mount for forward night vision. A front grille or bumper position works well for a wide forward view at low height. Pickups and vans often need a higher, more protected location because of body flex and vibration. Passenger cars typically accept a compact behind-mirror unit with minimal cabin intrusion.
Match the kit to the channel. Complete systems fit retrofit distributors who sell to installers and fleet operators. The buyer wants a known installation procedure and a single part number. Standalone cameras and cores fit integrators who build their own housing and sell under their own label. That buyer wants detector specs, interface details, and mechanical drawings, not a finished box.
Before you commit stock, confirm the video output matches the receiving monitor. CVBS and USB are common options, and a mismatch forces an adapter or a return. Check the housing rating too; an IP67 enclosure suits exterior mounting, while a bare core needs protection you or the integrator must design. Treat the term auto thermal camera carefully in your catalog. State clearly whether the product is an automotive LWIR camera or a general automated thermal sensor, and do not attribute AI detection to a series that lacks it.
Technical Selection Framework
Start with the lens, because the lens decides what the detector can actually see. Focal length sets the field of view (FOV): a longer focal length narrows the view and pushes detection distance outward. Instantaneous field of view (IFOV) describes the angle one pixel subtends, and it tells you the smallest target the camera can resolve at a given range. Divide the target size by the IFOV to estimate the maximum recognition range for that target. Run your real scenario through a lens selector tool before you order stock. A wide FOV suits low-speed maneuvering and close diagnostics; a narrow FOV suits forward night vision at highway distance.
Resolution, Sensitivity, and Frame Rate
Treat these benchmarks as reference points, not minimums. A 640×512 array with a 12 µm pixel pitch and a spectral range of 8–14 µm represents a strong general-purpose specification. Thermal sensitivity of 20 mK NETD or less separates warm objects from a cool background with clean contrast. Frame rate matters for moving vehicles; a slow frame rate smears the image at speed. Confirm the frame rate the supplier quotes is the delivered rate, not a sensor maximum.
Auto Thermal Camera Specs by Use Case
An auto thermal camera means an automotive LWIR camera, not a general automatic thermal sensor. Keep that distinction in your catalog and your sales conversations. VERYTek’s TC Series illustrates the category: a non-AI thermal camera for vehicles and marine applications, offered with 256×192, 384×288, or 640×512 detectors, CVBS PAL or USB video output, and an IP67-rated housing. Do not attribute AI detection to this series; it does not have it.
Use case | Priority specs | Practical note |
|---|---|---|
640×512, ≤20 mK NETD, narrow FOV | Long range, clean contrast in darkness | |
Diagnostics | Mid resolution, wide FOV | Close target, wide coverage |
Fleet retrofit | IP67, CVBS output | Matches existing monitors, survives weather |
Match the camera output to the receiving monitor before you ship. A CVBS PAL camera will not feed a USB-only display without conversion. Confirm the IP67 rating covers the mounted orientation, not just the bare housing. Expect install documentation with each kit: mounting template, wiring diagram, power specification, and configuration steps. Missing documentation becomes your support cost.
UK Regulatory and Compliance Considerations
Import, Marking, and Documentation
Verify the paperwork before the pallet leaves the factory. Ask the supplier for the marking on the product and the packaging, the declaration of conformity, and the test records that support the claimed IP67 rating and electrical safety. Confirm the marking regime the kit carries for the UK market, and check that the declaration matches the exact model and variant you ordered. A declaration written for a 256×192 unit does not cover a 640×512 version.
Check the product description on every document. An automotive LWIR camera and a general automated thermal sensor carry different intended-use statements, and a mismatch between the catalog entry and the declaration creates a problem at the border and at resale. Request the documents in English, keep a copy with each shipment, and store them where your sales team can reach them. Your customers will ask for them.
Road-Use and Installation Compliance
Installation and road-use rules vary by vehicle type and mounting position. A behind-the-mirror mount in a passenger car raises different questions from a grille mount on a van or a high roofline position on an SUV. Do not treat any single mounting location as universally approved. Confirm the requirements with the factory first, then with the relevant local authority where the answer is unclear.
Build this check into your sales process. Ask the installer where the camera will sit, then confirm that position against the guidance you hold. Keep a written record of the advice you give. Rules also change over time, so review your guidance at each stock cycle rather than once at launch. Where you cannot confirm a requirement, say so plainly and direct the customer to the authority. That approach protects both your business and the end user.
Cost, Supplier Support, and Trade Terms
Total Cost and Warranty Evaluation
Compare landed cost, not unit price. Add freight, duty, currency movement, and the support hours you will spend on installation questions. A cheaper kit with thin documentation often costs more once your team answers the same wiring question twenty times. Ask the supplier what the warranty covers: the detector, the housing, the cable assembly, or the whole unit. Confirm the warranty period in writing and check who pays return freight on a claim. A clear warranty path protects your margin when a unit fails in the field.
MOQ, Trade Conditions, and Customization
Customization separates a commodity reseller from a branded supplier. Look for a partner with PCBA and flex, rigid-flex, and HDI board capabilities. That partner can review your BOM for availability before procurement, then offer turnkey or consigned assembly to match your production files. Agree the inspection scope up front, including X-ray inspection for hidden solder joints, and ask for the decisions to be documented. This matters when you need a modified or private-label kit for vehicle use, where the housing, cabling, and output configuration must match your channel.
Treat trade terms, warranty, and dealer MOQ as items to confirm directly with the factory. Never present them to your customers as assumed commitments.
Ask three questions before you sign: what is the minimum order quantity per variant, what payment and Incoterms apply, and what lead time holds for a repeat order. Get the answers in writing and store them with the product file. A supplier who documents these terms gives you a stable base for pricing and stock planning.
Step-by-Step Selection Checklist
Pre-Purchase Specification Checks
Run these checks in order before you place a stock order.
Confirm the product type. Decide whether the listing describes an automotive LWIR camera or a general automated thermal sensor. The phrase auto thermal camera covers both, and your catalog entry must state which one you sell.
Match the detector to the job. A 640×512 array with 20 mK NETD or better suits long-range night vision. A 256×192 unit suits close diagnostics and tight budgets.
Verify the spectral range sits in the 8–14 µm band.
Select the lens for the required field of view, then test the real mounting position with a lens selector tool.
Match the video output to the receiving monitor. A CVBS PAL camera will not drive a USB-only display without conversion.
Confirm the IP67 rating covers the mounted orientation.
Check that the install documentation includes a mounting template, wiring diagram, power specification, and configuration steps.
Supplier and After-Sales Verification
Ask the supplier for the declaration of conformity, the test records behind the IP67 claim, and the warranty terms in writing. Confirm which parts the warranty covers: detector, housing, cable assembly, or the complete unit. Establish who pays return freight on a claim.
Request a sample unit and validate it against one real installation before you scale stock. Record the result, including any output or lens mismatch you find. Keep that record with the product file, and review it at each stock cycle.
Confirm trade terms, warranty, and MOQ directly with the factory before you commit.
Settle the kit type first, then match specs to the application, then clear UK compliance, then negotiate cost and supplier terms. Run the selection checklist before you commit stock. Confirm trade terms, warranty, and MOQ directly with the factory, and keep those answers in writing. Request OEM kit documentation and a quotation from your supplier. Validate one auto thermal camera against a real installation before you scale. That single test tells you more about fit, output, and mounting than any datasheet.
FAQ
What does “auto thermal camera” actually mean in a product listing?
The phrase covers two different products. One is an automotive LWIR camera built for a vehicle. The other is a general automated thermal sensor. Check the intended-use statement on the datasheet. Your catalog entry should name the type you sell, because buyers and border officials both read that line.
Does the VERYTek TC Series include AI detection?
No. The TC Series is a non-AI thermal camera for vehicles and marine applications. Do not attribute AI detection to this series in your marketing. Ordered versions offer 256×192, 384×288, or 640×512 detectors, CVBS (PAL) or USB output, and an IP67-rated housing.
How do I pick the right lens for a vehicle installation?
Start with the field of view your mounting position needs. A narrow view suits forward night vision at highway distance. A wide view suits close maneuvering and diagnostics. Test the real scenario with a lens selector tool before you order stock.
What happens if the camera output does not match the monitor?
The installation fails or needs an adapter. A CVBS PAL camera will not drive a USB-only display without conversion. Confirm the receiving monitor’s input before you ship, and record the match in your product file.
Which documents should I request before importing a kit?
Ask for the marking on the product and packaging, the declaration of conformity, and the test records behind the IP67 claim. Confirm the declaration matches the exact model and variant you ordered. Keep English copies with each shipment.
See Also
Complete Wholesale Buying Guide for Automotive Thermal Camera Distributors
B2B Engineering Checklist for Selecting Automotive Thermal Camera OEM Suppliers
Choosing High Resolution Thermal Imaging Camera Manufacturers for OEM ODM Projects